Arduino Uno R3: A Beginner’s Guide
Learn the basics of working with the Arduino Uno R3 with simple board connection and coding.Materials Needed
- Arduino Uno R3 with cable.
- 1x Breadboard Solderless.
- 1x LED.
- 2x Jumper.
Connecting Your Arduino Uno R3
Follow these steps to connect your Arduino Uno R3 to your computer:-
- Connect your Arduino Uno R3 to your computer using a USB cable.
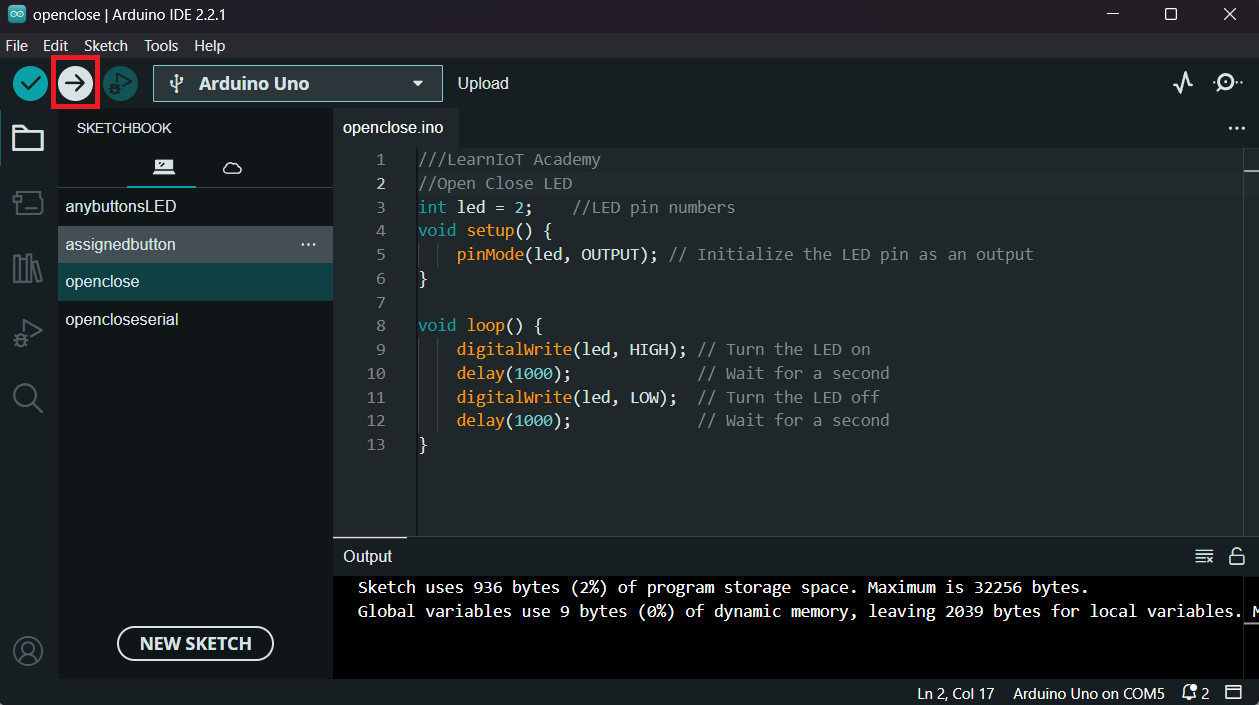
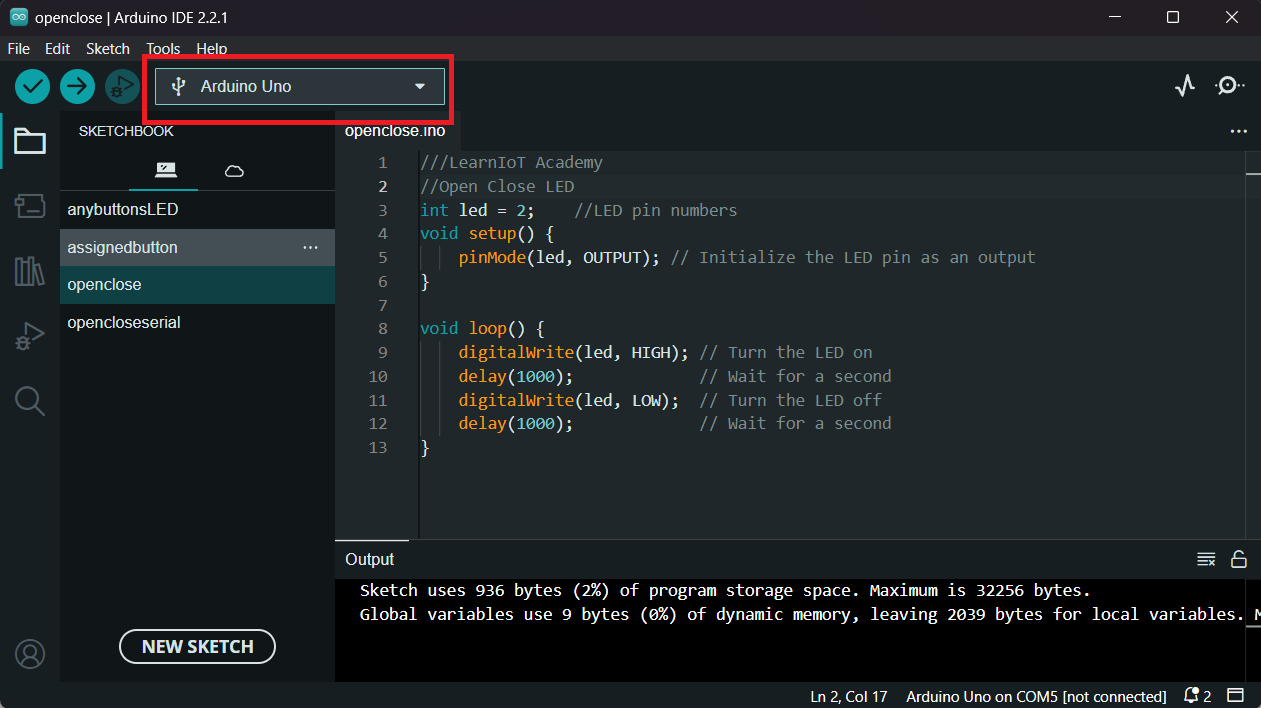
- Open the Arduino IDE on your computer.
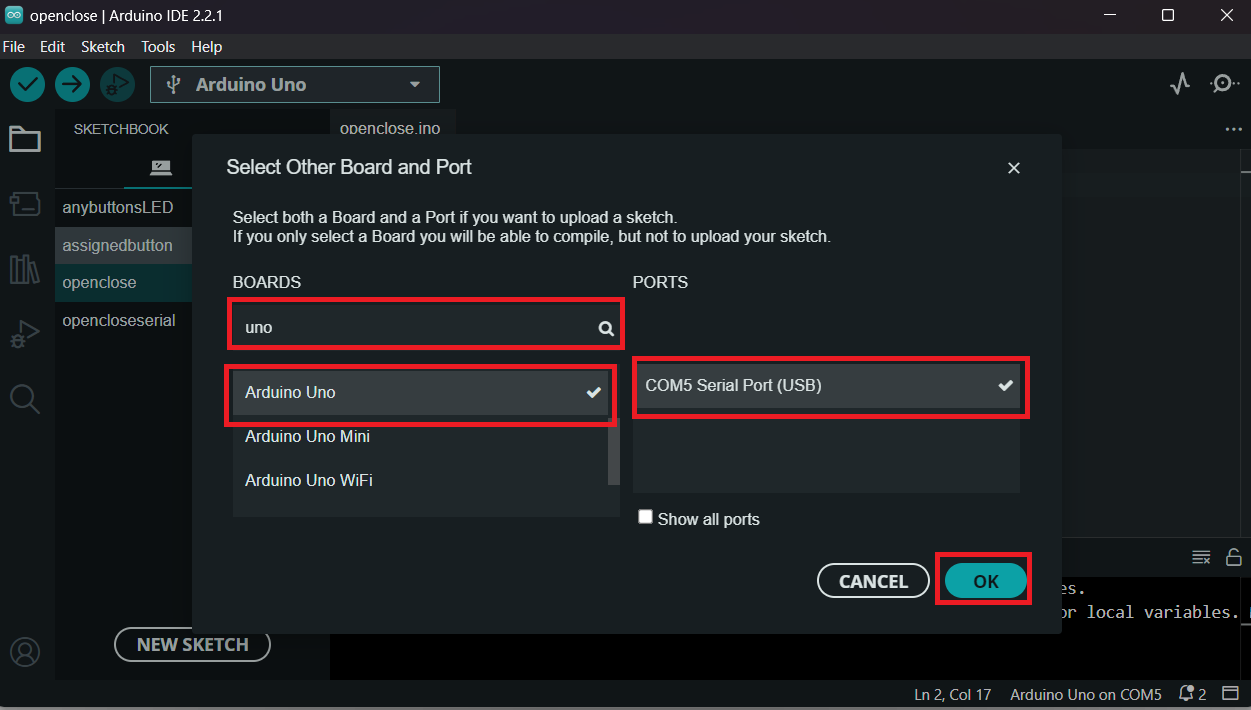
- Select the correct board and port from the Tools menu.
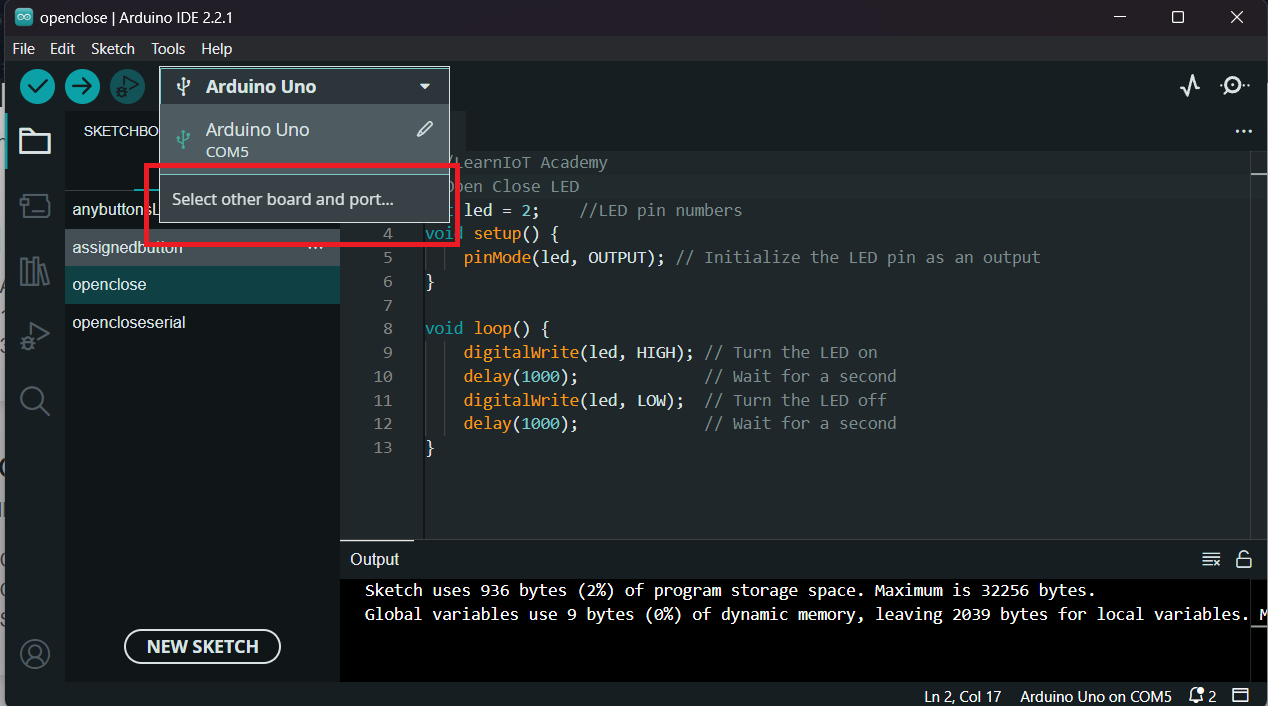
- Search for Arduino Uno board and port that you connect then press “OK”.
Step 1
Connect a jumper to board and GNDStep 2
Connect a jumper to board and pin number 2Step 3
Connect LED to board between two jumpers while positive side connected to jumper pin number 2 and negative side to jumper GNDSimple Programming Example
Basic code to get you started with IoT programming:
//LearnIoT Academy
//Open Close LED
int led = 2;    //LED pin numbers
void setup() {
    pinMode(led, OUTPUT); // Initialize the LED pin as an output
}

void loop() {
    digitalWrite(led, HIGH); // Turn the LED on
    delay(1000);             // Wait for a second
    digitalWrite(led, LOW);  // Turn the LED off
    delay(1000);             // Wait for a second
}